
How to Make a Family Timeline: A Step-by-Step Guide to Preserving Your Legacy
I have a letter. 8 pages, double-spaced. It’s written by my great-grandfather to my father. I have the original copy, coffee stains and all. I would mortgage my house to keep that letter. Why?
It’s my family’s legacy. It’s my legacy.
That piece of paper is a direct link to a person I never met, a tangible piece of my own story. You probably have something similar—a box of old photos, a wedding ring, or just a powerful memory. These are the threads of your family's history. This guide will show you how to weave them together into a family timeline, the first and most important step to ensuring your legacy is never forgotten.
Step 1: The Gathering Phase…Become a Family Historian
Everyone has a story worth telling. Here’s how you start finding yours.
Interview Your Relatives (The Fun Part!)
Your family's elders are living libraries. Their memories are the heart of your timeline. Sit down with them, hit record on your phone, and just listen. Here’s a cheat sheet of questions that we have curated.
Dig Through the Treasure Trove
Next, go on a treasure hunt for physical items. Look for:
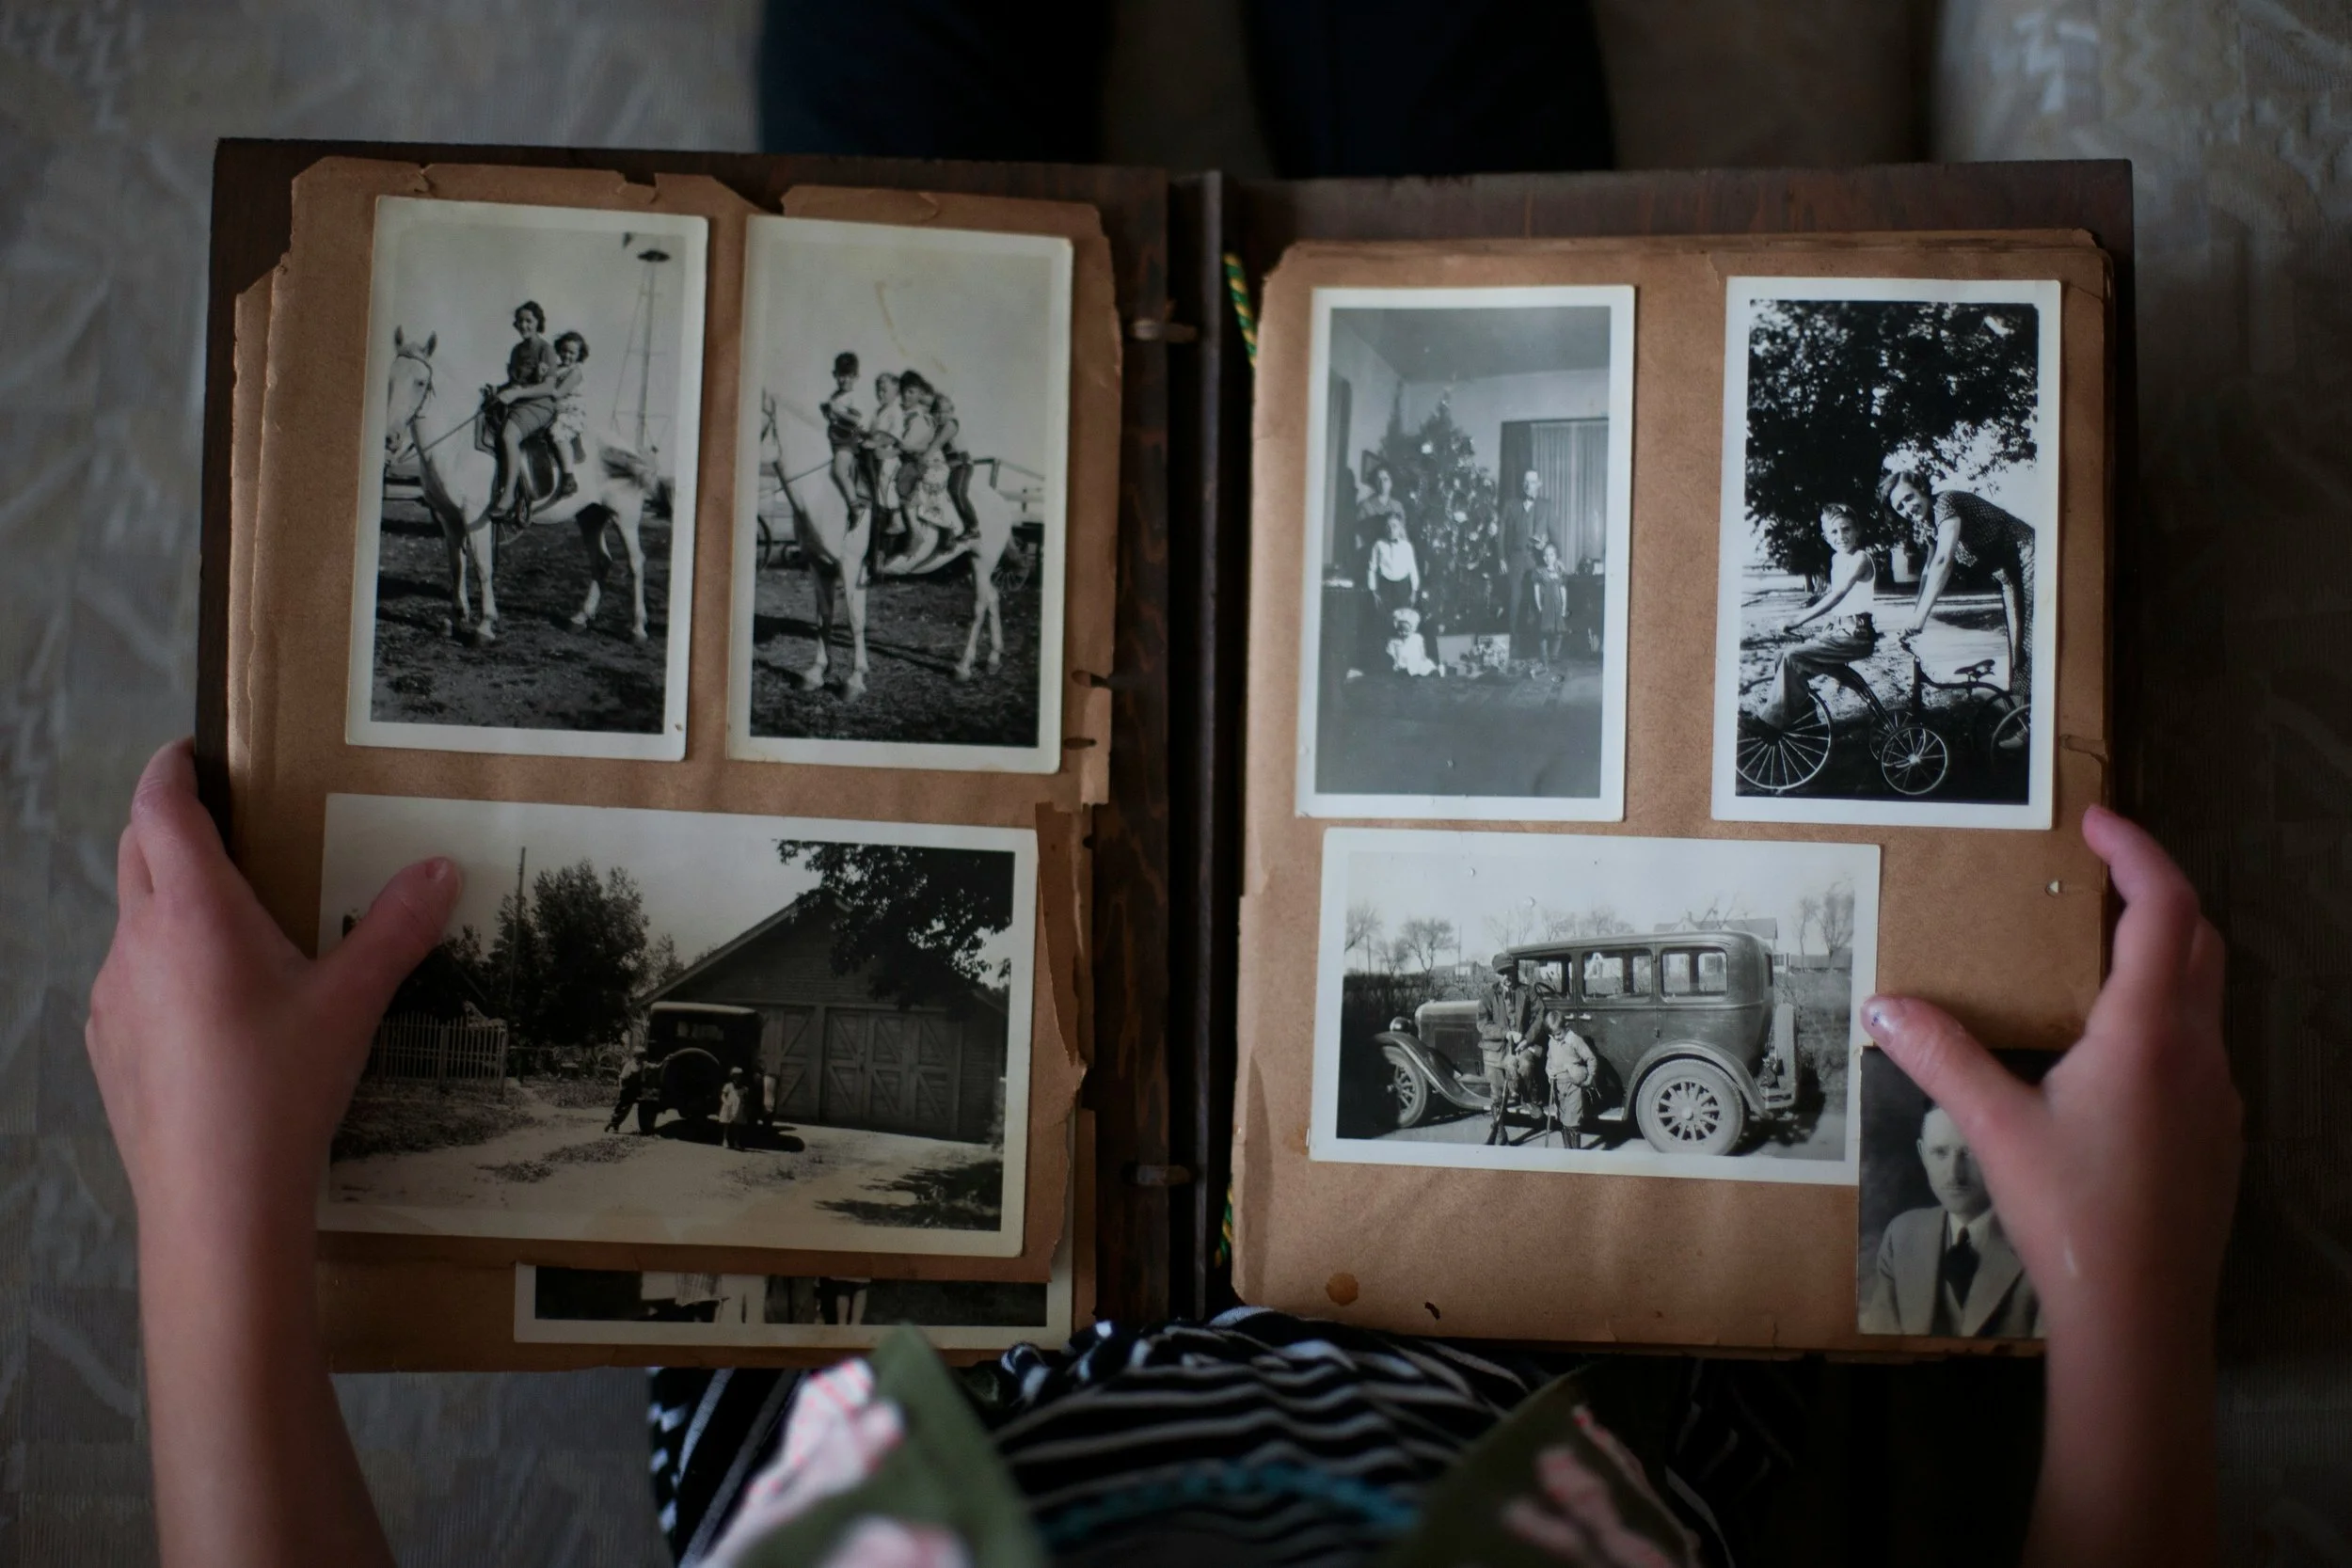
The Photo Box: Look through old photo albums. Check the backs for names, dates, and locations.
Official Documents: Gather birth certificates, marriage licenses, and military records.
Personal Writings: Search for diaries, journals, and old letters that provide a personal glimpse into the past.
Step 2: The Organization Phase…Building Your Chronology
Now that you have all these stories and dates, it’s time to bring some order to them.
Choose Your Format
Digital: A simple spreadsheet (like Google Sheets or Excel) is perfect. It's easy to edit, sort, and share with family.
Physical: A large poster board or a scroll of butcher paper can be a wonderful, visual project to work on with kids or grandkids. Be careful. This could very well take up your whole room.
Create Your Columns
Structure your timeline with these categories. The last one is the most important.
Year: The central organizing element.
Key Event: e.g., "Birth of John," "Marriage of Sarah & Tom," "Family moved to Des Moines."
People Involved: Who was part of this event?
The Story: This is where the magic happens. Add the anecdotes, quotes, and memories. This is what turns a list of facts into the essence of your family.
Step 3: The Enrichment Phase – Adding Color and Context
A list of dates is a good start, but context is what makes a story rich.
Weave in World History: Note major historical events alongside your family’s timeline. Knowing your grandfather was born during the Great Depression adds incredible depth to his story.
Make it Visual: Scan and add key photos next to their corresponding events. A wedding photo next to the marriage entry makes it come alive.
Color-Code It: Use different colored pens or cell colors in your spreadsheet to represent different branches of the family. This makes the timeline much easier to follow.
What’s Next? From Bland Dates to Timeless Treasure
A completed timeline is a powerful document. It’s a map of where you came from. You should share it at the next family gathering and see what other stories it sparks.
It’s also the perfect script for the ultimate family heirloom: a Video Memoir.
Your family’s legacy is priceless. Whether you do it at home on your phone or through a service like ours, tell the stories. Let your family know where they came from. They will be eternally grateful that you did.
If this task feels daunting, we can help! Contact us today to learn how we can help make the ultimate video memoir for your family.
Nicolas Lirio
Lead Interviewer, Roots & Story